
05 Getting Ahead of Myself: Building A Studio Desk
- Frank Walker
- Sep 17, 2020
- 3 min read

Updated: Jun 13, 2025
Testing the Waters
Before beginning this project, I hadn't had much experience of building things apart from the odd bit of DIY. So I decided to start building the desk for my studio, although the studio wouldn't be ready for another year, this would provide good experience for me and I could still use the desk in my temporary studio space.
Desk Design
The main thing I wanted to my desk to be was ergonomic, having everything within reaching distance and to be sat at the right height for my back and legs. I'm 5'7" and often find that off the shelf desks are too high to be comfortable for long times and I prefer to be sitting 'over' the desk, similar to how you would stand over a mixing console. Using an online calculator for desk height it came out at 68cm for the tabletop, so that's what I aimed for. IT also gave seat height dimensions which I could use to calculate listening and speaker height from.
I had some rack gear and knew I also wanted some more, so I designed 12 units (6 on each side) of rack space angled at 30 degrees for perfect viewing angle and ease of use. In-between these two rack units would be space for my touch screen monitor, keyboard and trackpad, and a power switch that would be connected to my computer.
This was all designed in AutoCad first, where exact dimensions and angles had been calculated.


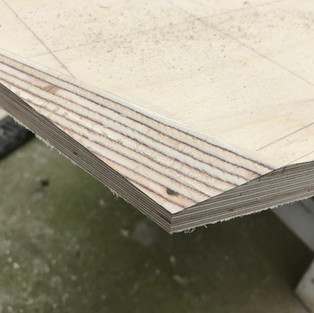
I decided to build the desk out of 24mm Birch plywood as I prefer light coloured woods and enjoy seeing the different layers of ply on the edges. I would shape these edges by planning in a similar style to the woodwork of Temper Studios. For the framework, I used stainless steel to add a slight industrial quality and strength to the desk.
The Process of Building A Studio Desk
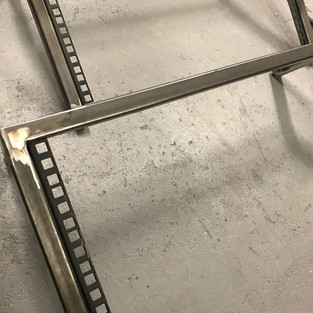
I started by cutting the stainless steel legs down to size, welding together (first time welding, so apologies), then grinding down.


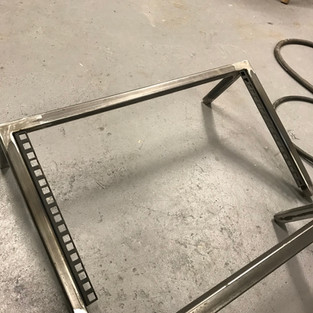
Next, I cut down the steel for the rack units, welded, ground down, and attached rack ears (followed by more grinding to smooth things out).


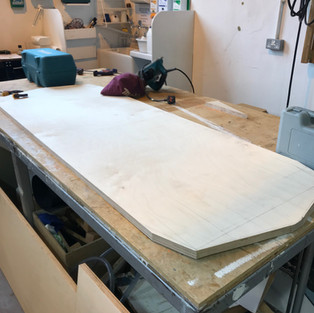
I could then measure out the desk shape on the plywood sheet, put the rack units in place to see if the layout felt 'right'. The sheet was then cut down to size and the detailed edges cut by a jigsaw.


Using an electric planner I then planned in the detailing freehand by following the guidelines I had drawn.


This was then sanded down for a smooth, clean edge.


Followed by drilling holes to accept the rack units and power button, and jigsawing out the space for the rack gear.


More sanding and testing that the racks sit in place.


I needed to protect the plywood, so on an off-cut I tested out some oils. Ended up using Danish Oil for its more natural finish and lighter colour. I've used Danish Oil on all wooden projects in the studio since.


Now I could oil the entire desk with three coats on both sides. Once dried, I arranged the legs and screwed them in place.


Assembly! Getting it all together.


And finally in situ in my temporary space.


And that's the desk build done! Now, as promised, I will finally get onto the studio build.
Frank Leonard Walker


Comments